This project was inspired by some things I have seen online using wire and clothespins to hang photos, and it was also inspired by a wire-and-clothespin frame from Pier 1 that I own. :)
This can be adapted to be as easy and simple or as detailed and embellished as you choose to make it - a "vintage"-esque (is that a word?!) clothespin frame.
What I used:
~ unfinished wooden frame which did not come with glass, also had an opening that was an odd size for using for any type of photo ... and CHEAP ($1)
~ acrylic craft paint in color(s) of your choice
~ paint brush or foam brush (I prefer foam for this - medium size)
~ emery board, fine-grade sandpaper or other abrasive "tool"
~ wire, string, yarn or twine
~ mini clothespin(s)
~ hot glue (of course!!)


Note: This frame came with a small wooden dowel that fits into a small hole in the back, which I assumed was designed to be used as a stand for table display. I did not use it since I did not set these on a shelf or tabletop.
I painted the frame (front and back) and allowed it to dry. Good thing acrylic paint dries quickly because I am horribly impatient. Another bonus - it is water-based (at least the ones I have are) and it easily washes off the skin! {If it didn't, I would have permanently stained colorful hands!!} After it dried, I distressed it using a large emery board, mostly because I had nothing else available, but you could use fine-grade sandpaper or another mildly abrasive tool. Gently rub the edges and surface of the frame to lightly remove some paint and reveal the wood.

Using hot glue, I attached the twine/string to the back after stringing it through a mini clothespin. You could hang whatever you wanted in the middle. I used some old-fashioned mini-postcards that I found online and printed.

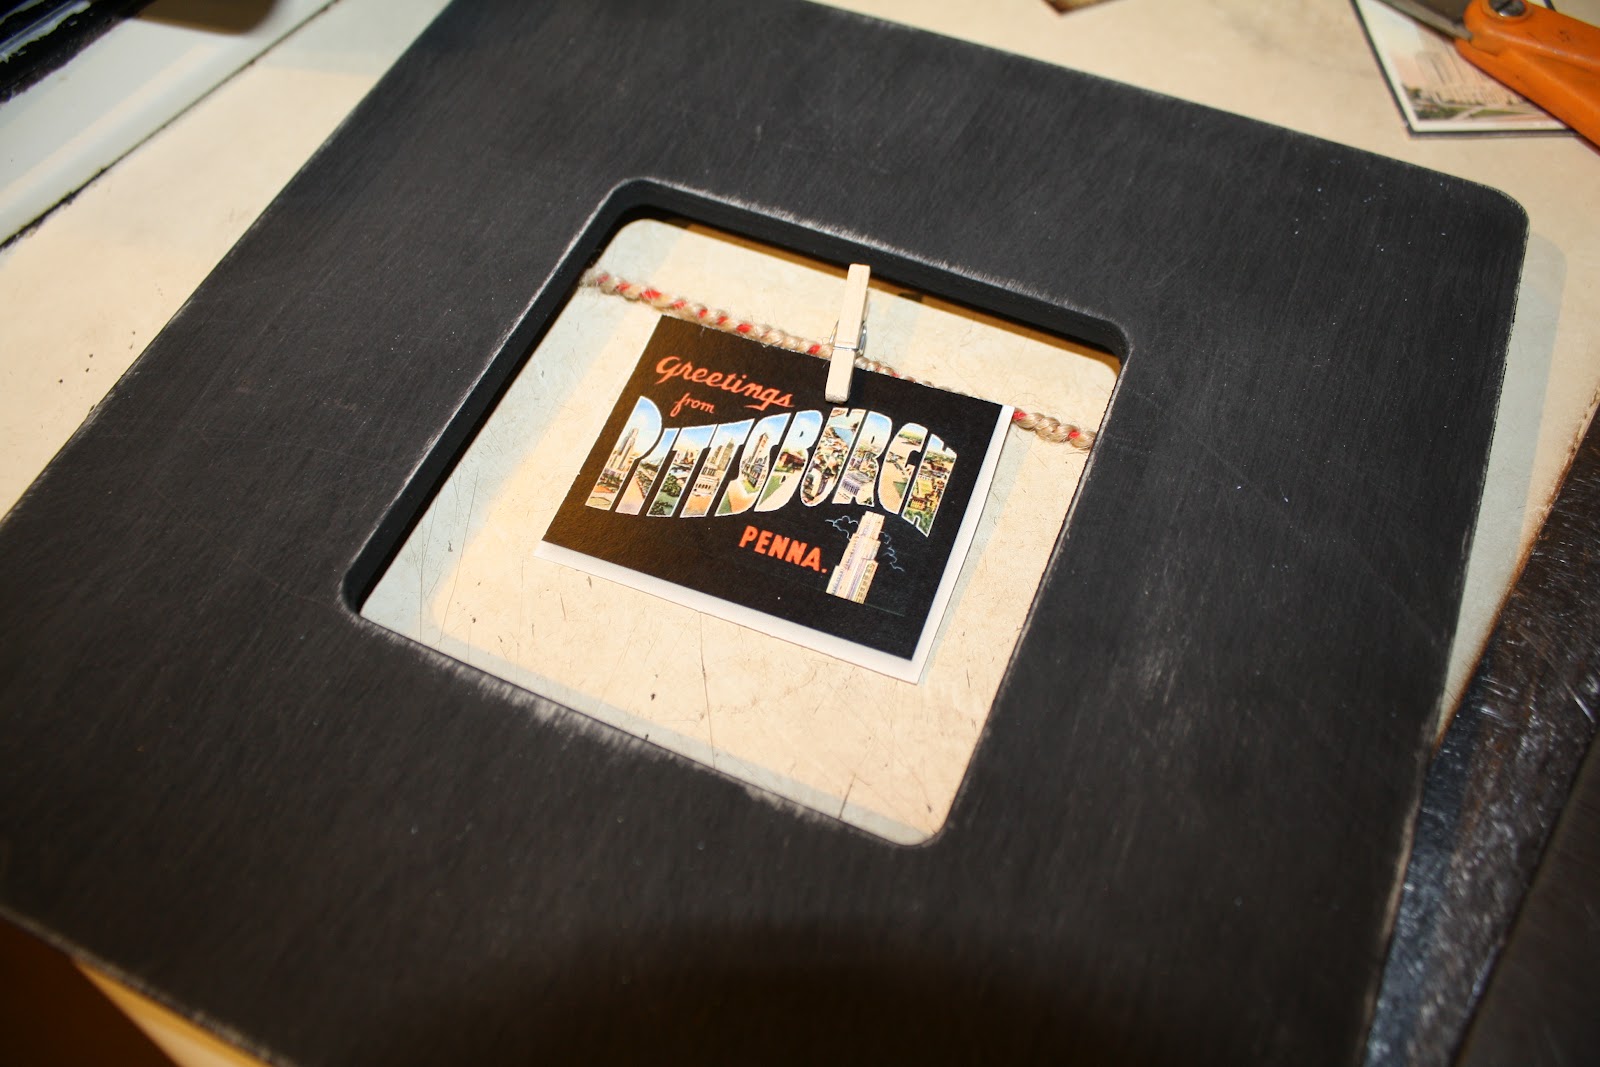

For now, I set these above a door frame, but they may end up on the wall eventually!
~S.